If you love Easter crafts and nostalgic pony bead projects, this adorable Bunny Peep keychain is a fun and easy craft to make. It’s beginner-friendly, works up quickly, and makes a perfect addition to Easter baskets, backpacks, or keychains.
Lately I’ve been a little “Peep crazy.” I’ve been making crochet peeps, tiny peeps that fit inside Easter eggs, painted peep rocks, and now these super cute pony bead peeps inspired by the classic 90s bead crafts.
The best part?
These pony bead bunny peeps take only a few minutes to make and are perfect for kids and adults alike.
Materials Needed
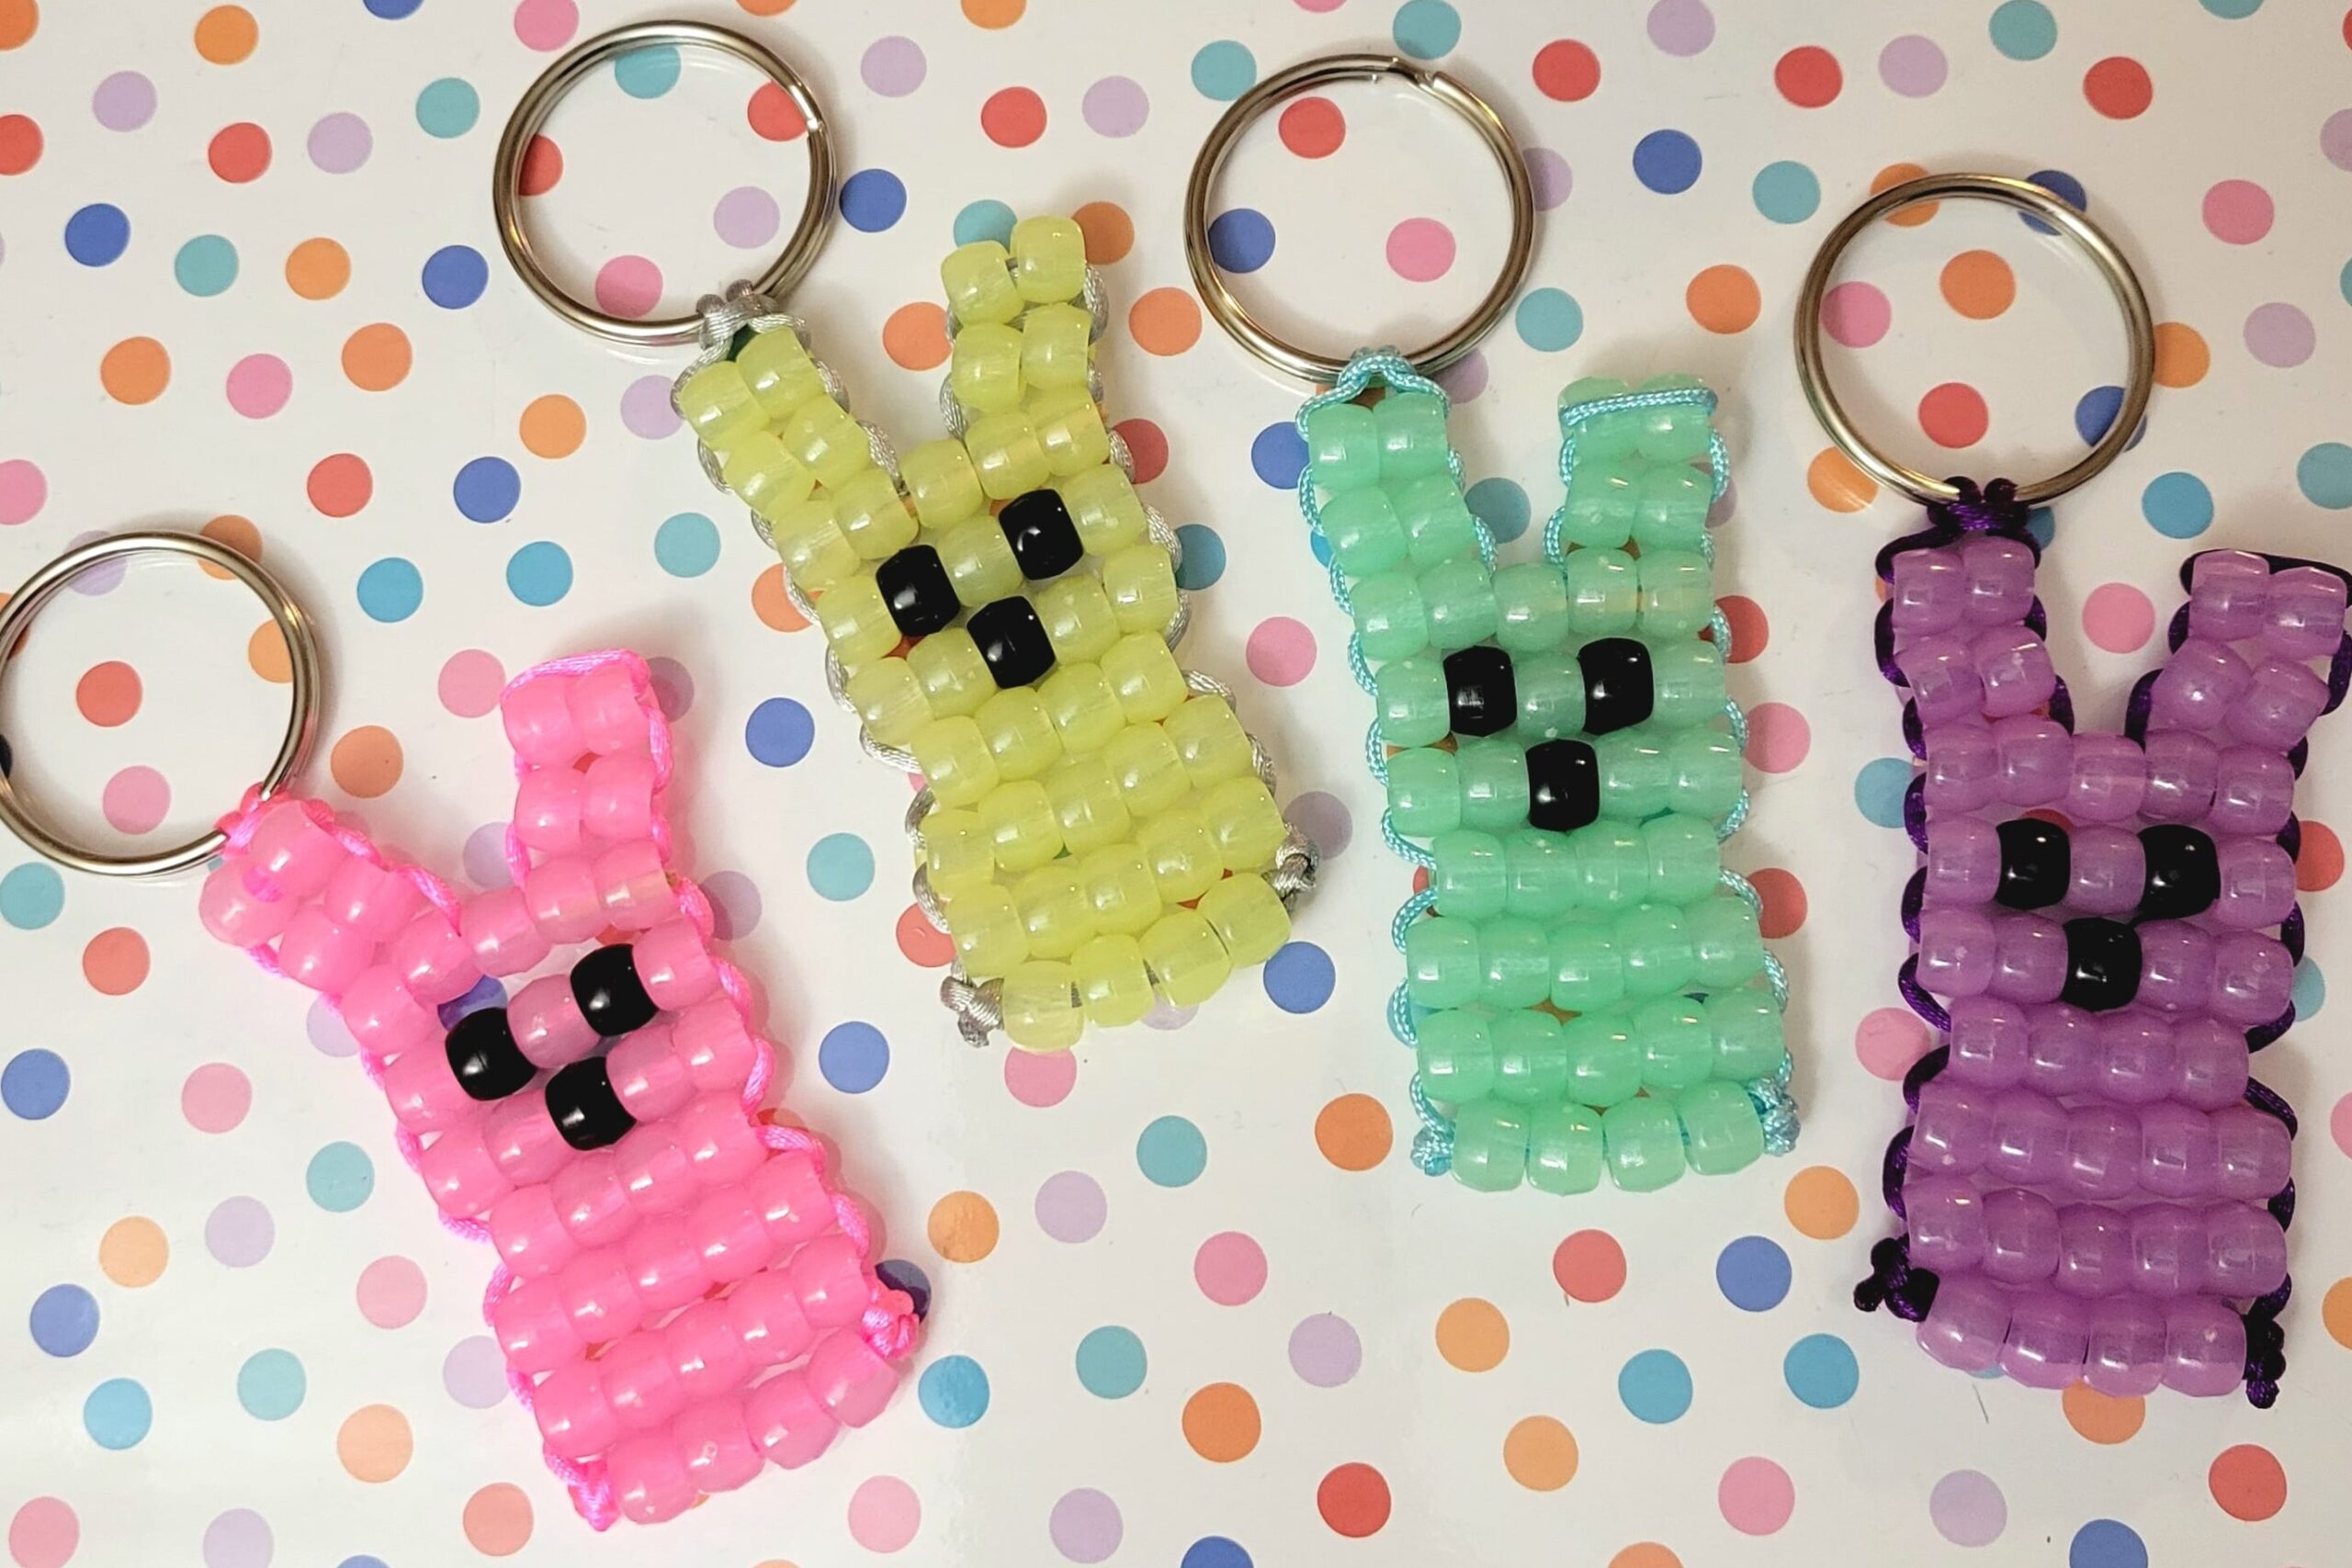
To make this pony bead bunny keychain, you will need:
- 38 pony beads in your main color (for the bunny)
- 3 black pony beads (for the eyes and nose)
- Key ring
- Cord or plastic lacing (about 40 inches)
- Lighter (to seal the cord ends)
Optional:
- Toothpick (helps shape the top row slightly)
- Paper background if filming or photographing lighter beads
Step 1: Attach the Cord to the Key Ring
Cut about 40 inches of cord and fold it in half.
Slide the folded cord through the key ring and pull the two loose ends through the loop to secure it. This creates your left strand and right strand for the bead pattern.
Step 2: Start the Bunny Body
Add two beads onto the left strand.
Take the right strand and pass it through the beads in the opposite direction, then pull tight so the beads sit in the center.
Repeat this process for the next rows to start forming the bunny shape.
Step 3: Create the Bunny Ears
To create the ears:
- Add seven beads onto one strand.
- Feed the cord back through the previous rows from the opposite side.
- Pull the cord tight so the beads curve upward and form the bunny ear shape.
Repeat on the other side so both ears form evenly.
Step 4: Add the Bunny Face
For the face row, use the following bead pattern:
Color – Black – Color – Black – Color
This creates the two eyes and nose for the bunny peep.
Step 5: Finish the Bunny Shape
Continue adding rows of beads following this pattern:
- Row of 4 beads
- Row of 5 beads
- Row of 5 beads
- Row of 4 beads
Pull each row tight so the bunny shape forms properly.
Step 6: Tie and Secure the Keychain
When the pattern is finished:
- Tie small secure knots near the bottom beads.
- Trim the excess cord.
- Carefully melt the ends with a lighter to prevent fraying.
For extra shaping, you can slide a toothpick through the top row of beads and trim it so the bunny top stays slightly curved.
Creative Ways to Use This Bunny Pattern
One thing I love about this design is that the same pattern works with different beads.
You can use it to make:
Zipper pulls – perfect for kids’ jackets or backpacks
Earrings – using smaller seed beads
Jewelry charms – great for spring accessories
Perler bead designs – using the same bunny layout
This little bunny shape is incredibly versatile!
More Easter Crafts You May Like
If you love this project, you might also enjoy these other Peep-inspired crafts:
- Crochet Bunny Peeps
- Tiny Peeps for Easter Eggs
- Painted Peep Rocks
- Perler Bead Peeps
Check out this playlist for all your peep needs.
Watch the Full Tutorial
You can watch the full step-by-step tutorial here:
Final Thoughts
These pony bead Bunny Peeps are such a fun and nostalgic Easter craft. They’re quick to make, beginner friendly, and perfect for handmade gifts or Easter basket surprises.
If you try this pattern, I’d love to hear about it in the comments!