
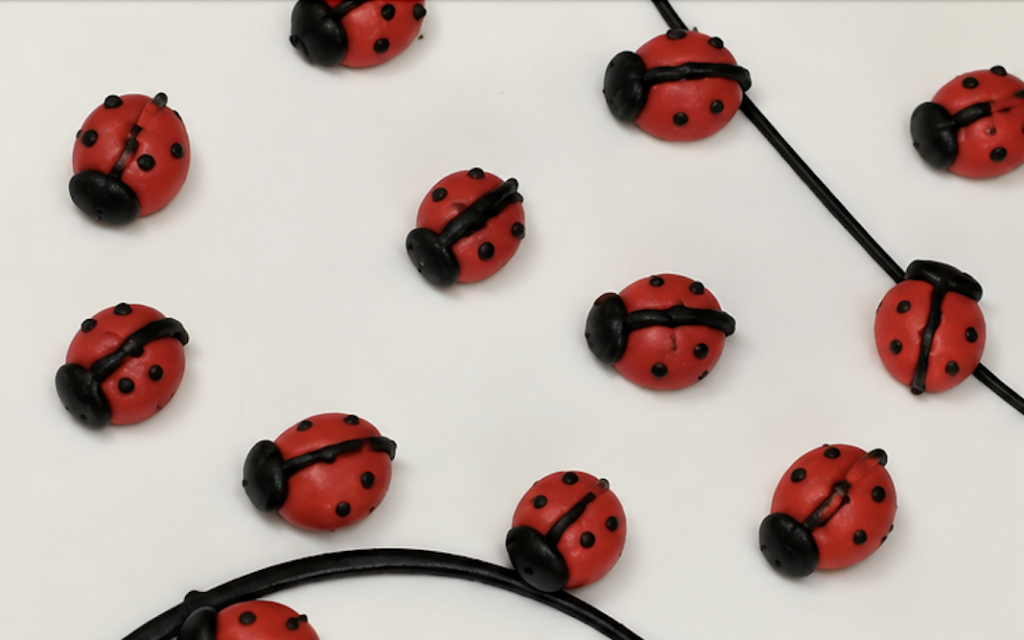
Looking for a fun and easy way to decorate your cookies, cupcakes, and cakes? These adorable royal icing ladybugs are the perfect edible decoration! They’re simple to make, beginner-friendly, and add a charming touch to spring, garden, or nature-themed treats.
At My Magical Corner, we love creating sweet decorations that make baking even more magical. Follow along and learn how to make your own royal icing ladybugs!
Supplies You’ll Need
Before you begin, gather the following supplies:
- Royal icing
- Red royal icing
- Black royal icing
- Plastic decorating bags
- Couplers
- Piping tips:
- #10 or #12 for the ladybug body
- #3 for the head
- #1 for the details and spots
Preparing Your Decorating Bag
If you’re new to decorating with royal icing, don’t worry! Setting up your piping bag is easy.
- Insert the coupler into the decorating bag.
- Locate the scoring line on the coupler and cut the bag at that point.
- Place your decorating tip over the coupler.
- Secure it with the coupler ring.
- Fill the bag with icing.
- Gently squeeze out any air bubbles before decorating.
Now you’re ready to start piping!
Step 1: Create the Ladybug Body
Using red royal icing and a #10 or #12 tip:
- Hold the piping bag at a 45-degree angle.
- Squeeze icing to create a small round ball.
- Once you’ve reached the desired size, stop applying pressure.
- Slightly move or turn the tip to smooth the surface and shape the body.
Repeat this process until you have several ladybug bodies piped onto parchment paper.
Helpful Tip
If a small peak forms on top of the body, allow the icing to set for a few minutes, then gently flatten it with your fingertip.
Step 2: Add the Head
Switch to black royal icing fitted with a #3 tip.
- Pipe a small circle at one end of the red body.
- Fill in the circle as you pipe to create a solid head.
- Smooth any peaks if needed.
Your ladybug should now start taking shape!
Step 3: Pipe the Center Line
Using a #1 tip and black royal icing:
- Start at the top of the head.
- Pipe a thin line straight down the center of the body.
- This line creates the appearance of folded wings.
Step 4: Add the Spots
With the same #1 tip:
- Pipe small dots on each side of the center line.
- Add as many or as few spots as you like.
- Every ladybug can have its own unique pattern.
Make More Ladybugs
Continue piping additional ladybugs using the same steps.
Remember to squeeze a tiny amount of icing from the tip before decorating each new piece. This helps prevent icing from drying inside the tip and ensures smooth piping.
Drying Time
Allow the royal icing ladybugs to dry for at least 12 hours, or overnight.
Once fully dry, carefully remove them from the parchment paper.
Ways to Use Your Royal Icing Ladybugs
These cute little decorations are perfect for:
- Cookies
- Cupcakes
- Cakes
- Spring desserts
- Garden-themed parties
- Baby showers
- Birthday treats
Because they’re made from royal icing, they can be prepared ahead of time and stored until you’re ready to decorate.
Final Thoughts
These royal icing ladybugs are a fun and easy decorating project for bakers of all skill levels. With just a few piping tips and some colored royal icing, you can create adorable edible decorations that will make any dessert extra special.
I hope you enjoyed this tutorial from My Magical Corner and feel inspired to create your own collection of sweet little ladybugs.
Happy decorating!